A New Patio: A Look at the Installation Process - Part 2
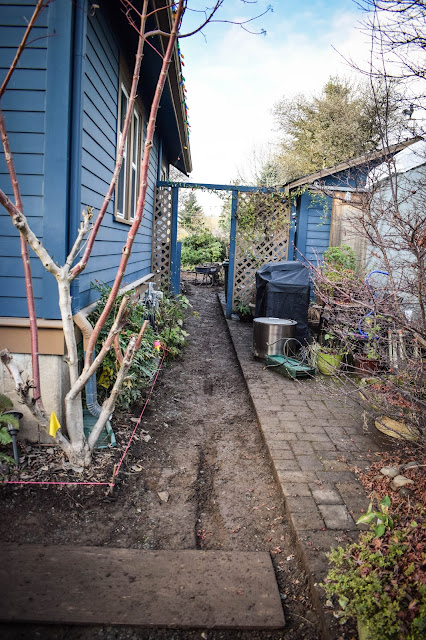
Installing a new patio is a multi-layered process. In part one of this three part series, I noted how the Winterbloom crew began the process of digging up our 'grassy patio' area. They dug down about 6 inches and hauled the dirt way in really foul weather. It was a mud pit.
Now, in part two, the next step was to carefully jackhammer the old, concrete, sidewalks out. This was a delicate process in some areas because of the water line running directly underneath. Additionally, this process was complicated by the thickness of the old, concrete sidewalks. It was thicker than we originally thought and took longer to remove.
Isn't it pretty as it comes together?! Notice above where large stones and river rocks were laid down around the water catchment system at the corner of our house. I had no idea Winterbloom would create something so pretty and functional. We purchased a copper rain chain that the crew installed to complete that part of the project.
At the same time the gravel was being laid down and compressed, the pipe running our water line to the far backyard was installed with spigots.
Next, the paver stones were put into place. I chose Western Interlock's camino stone in the 'Jamestown' color-wave, in two sizes. This was an economical solution because it is manufactured locally and it was also easy to locate with no shortage of materials. (I had also used this stone in a previous project and it has held up well over the past 8 years.)
In the picture below, notice how the new stones are matched up tight and level to the older stones from a previous project.
As the pathways and patio began to take shape, edging was put in place to hold the stones tight. In the final installment of this three part series, I'll show how the crew created a curvy patio in our backyard and the edging below was used all around.
Next, the crew swept mason sand across the stones to fill in small gaps. Below is a look at how the crews work of lining up the paver stones to our existing concrete steps, basement windows and garage steps, turned out (these are the places the crew cut, shaped and sanded so that the stones would fit well against them).
Again, details matter. I was very appreciate of the time the crew took to make sure all of the pavers were level and tight.
Lastly, the crew sealed the stones. We didn't expect the crew to be able to accomplish this until later in the spring but they had a dry day and circled back around to us to fully complete the project.
This project took approximately 11 business days to complete. The crew arrived at 8am and left by 3:30pm as the light was waning in mid-December. I was so impressed by the amount of work the crew accomplished every day. This was a tough job in challenging weather.
I appreciated that the crew arrived daily with the right materials and tools to complete the work for the day. It showed me that there was planning and attention paid to my project. They tidied up every night.
The crew also remained masked during the entire project. I greatly appreciated their respect to public health and our household during the pandemic.
I worked from home during this project and was required to be on many zoom calls most days. I really appreciated the professionalism the crew displayed. I didn't have loud music or inappropriate language filtering into my business calls.
In my next post, we will have our final reveal. I'm so pleased with this space; I'm very excited to share!
Cheers, Jenni
Disclaimer: I have not received any compensation for writing about my experience working with Winterbloom. They did not know in advance that I would write about working with them. JD


It is fascinating to see how it all comes together. I admire people who can do this type of work. It would never be level if I did it!
ReplyDeleteI feel the same way Phillip! I don't have the patience to make sure all the of the details are right. The crews foreman was excellent!
Delete